Design Tips & Tricks
Your prep cheat sheet for flawless merch.
Avoid guesswork. Minimise waste. Nail the look.
Here’s how to prep your designs so they roar to life on fabric, not just on-screen.
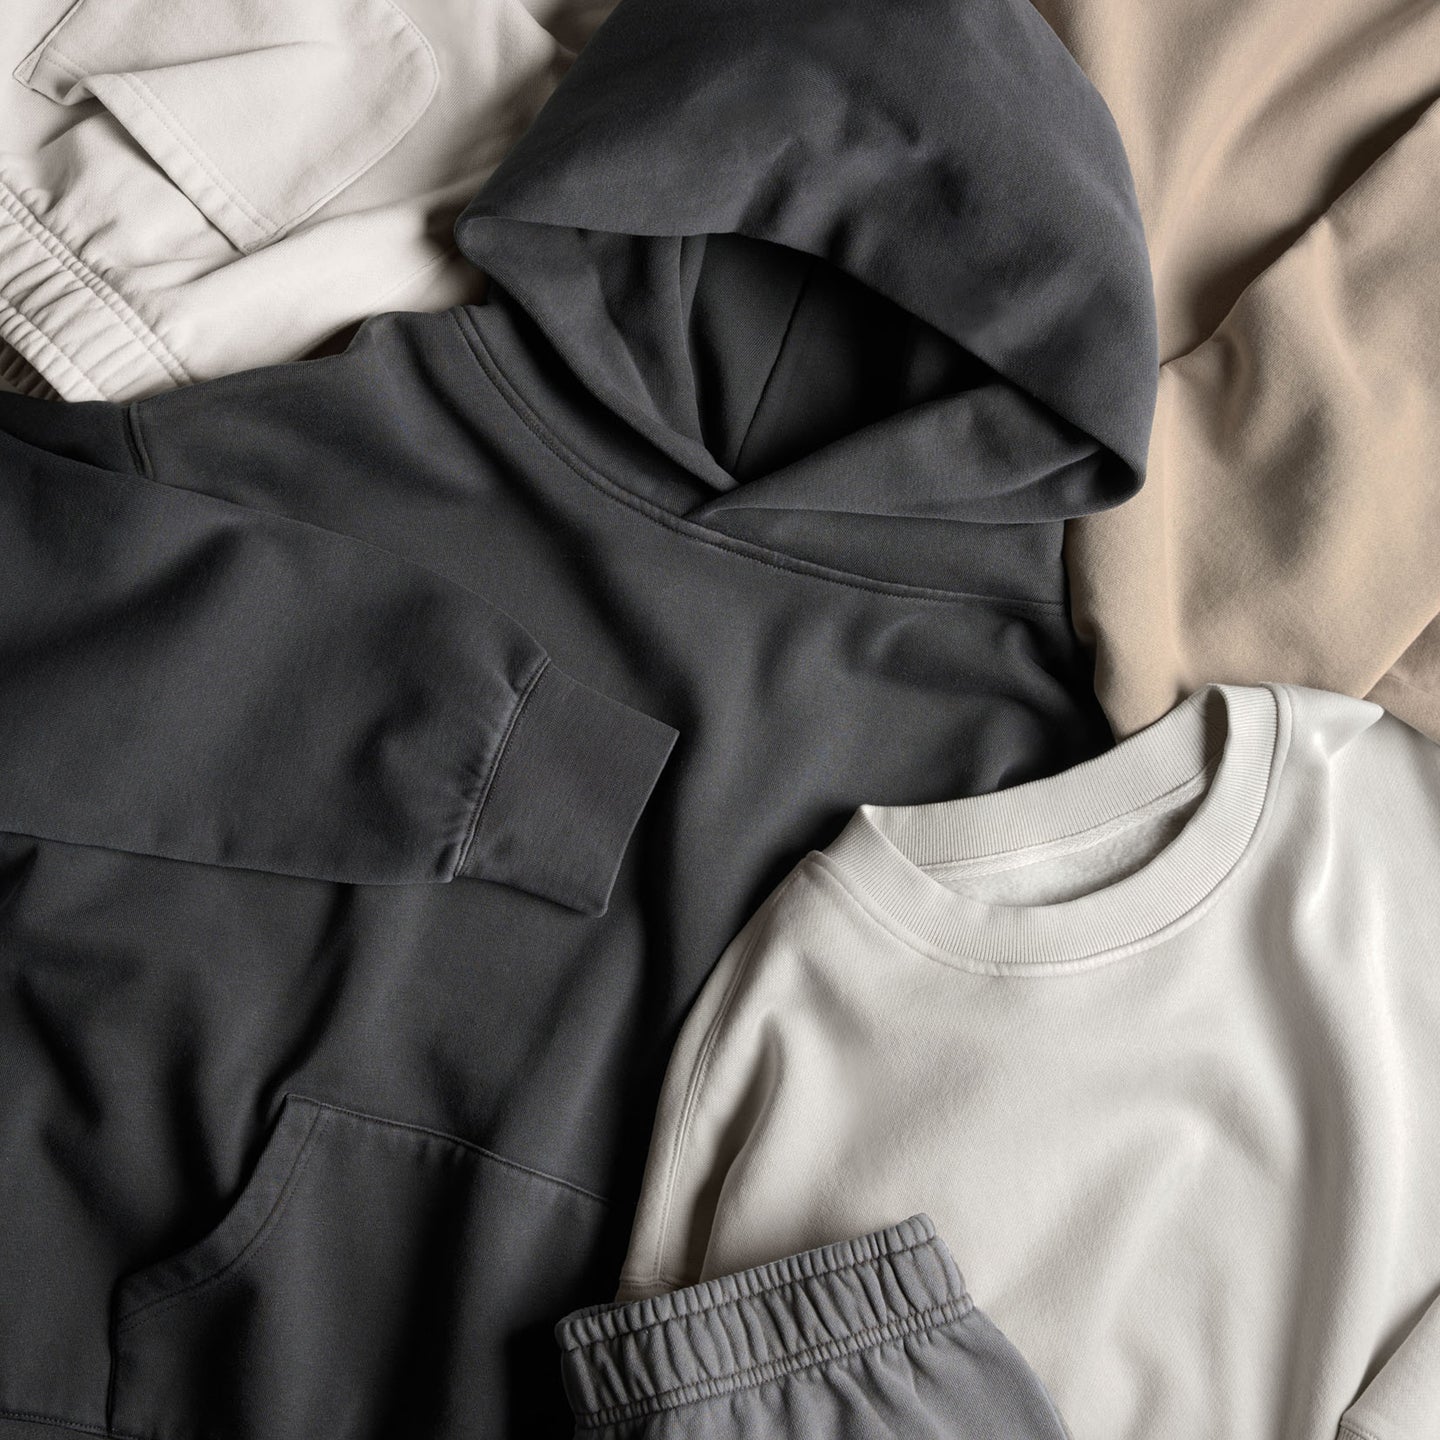
Pick the right garment for the job.
That killer design? It won’t shine if you slap it on the wrong base. Not all fabrics are created equal – and not every print method plays nice with every surface.
The same design can look drastically different on two garments depending on material composition (cotton, polyester, blends), fabric thickness, colour of the garment, and the print method used (DTG, DTF, sublimation, screen printing, etc).
Keep in mind...
- For sharp detail and softness, choose 100% cotton with DTG printing
- For bold colour and flexibility, go with DTF (works on most fabrics)
- For all-over prints or polyester-based products, sublimation is king
- For high-volume orders and vibrant block colours, go with screen printing
HOT TIP. Order a sample before launching. Fabric type alone can change how ink looks and feels.
Start with high-quality artwork.
Your final print is only as good as your original design. Blurry logos? Fuzzy lines? We don’t do that here.
Stick to 300 DPI. Use PNGs for transparency, JPEGs (60–80% quality) for full colour, and SVGs for crisp, scalable vectors (just make sure fonts are outlined).
Avoid screenshots, tiny web grabs, or files with hidden compression.
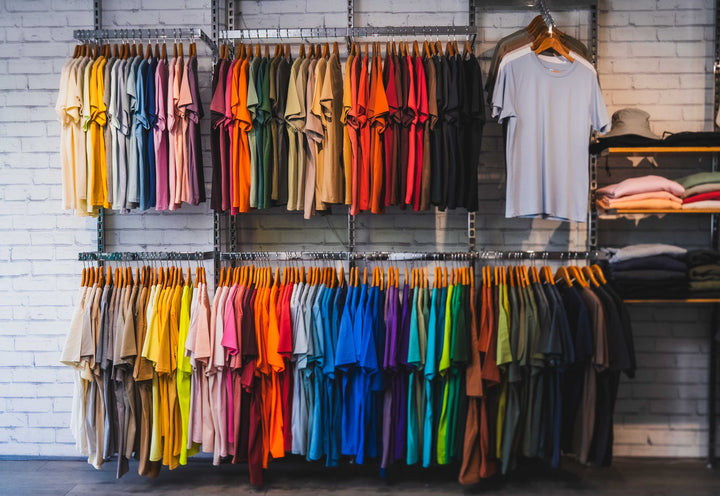
Consider your colours.
The colours on your screen won’t always match what ends up on fabric. That’s because screens use RGB (light-based) colour, while printers use CMYK (ink-based) – and converting between the two can cause shifts in vibrancy and shade.
Blues and purples tend to bleed into each other, neons often print duller, and white underbases on dark garments can mess with gradients. For best results, stick to high-contrast, solid colours.
Avoid gradients, transparency & textures where possible.
Gradients, fades, and transparency can get tricky – specially with DTG. What looks dreamy on screen can come out patchy or washed out on fabric. Transparent areas? They’ll print as white. And those soft edges or delicate textures? They might blur or bleed once ink hits cotton.
If you’re going for a gradient, test it on white fabric first. Keep the contrast strong, avoid fading into transparency, and use clear tonal stops to keep the details crisp.
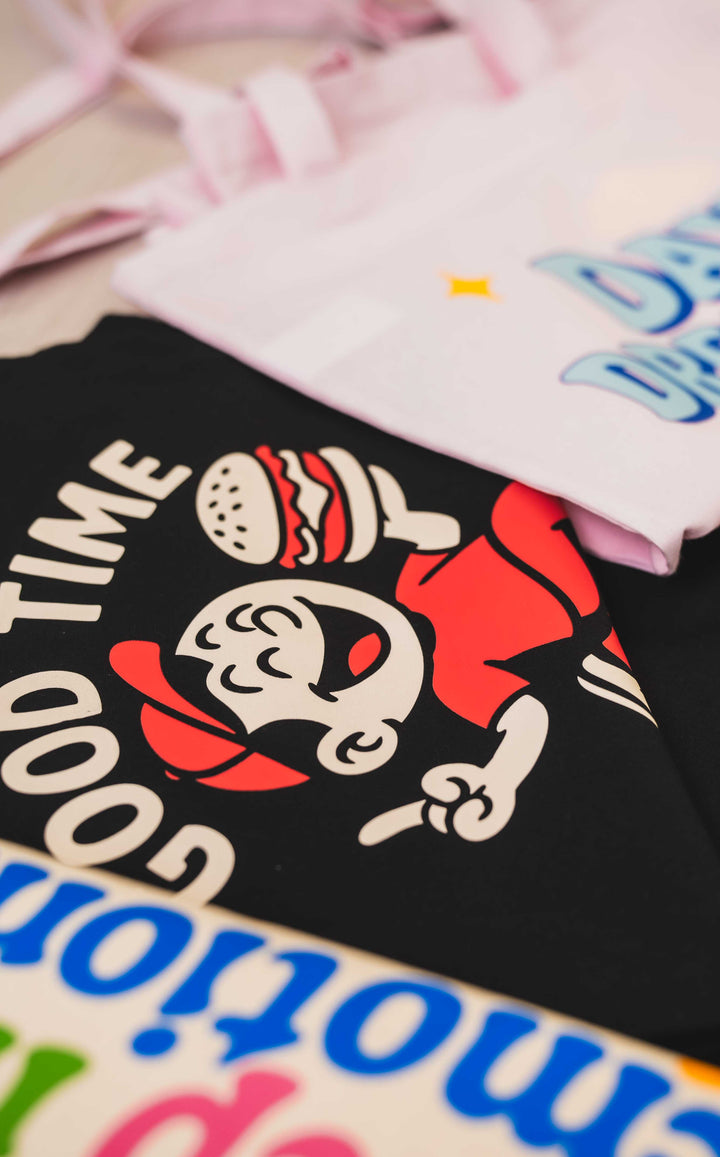
Think BIG + BOLD for text.
Text can make or break your design. Whether it’s a campaign slogan or a cheeky one-liner, if it’s too small, thin, or blurry – it’s game over. The clearer your type, the sharper your final print.
Go bold over wispy. Keep font sizes legible (5pt+ for mugs, 10pt+ for tees), and always use high-res or vector-based files. That way, your words actually show up – and show off.
Nail your size and placement.
Garment size can seriously affect how your design shows up. What looks perfectly placed on an XS might feel lost on a 3XL. To keep things sharp, always preview your layout using the Product Creator and make sure key elements stay clear of seams, collars, and zips – those spots can warp your design.
For edge-to-edge prints, your artwork should fully cover the print area, including the bleed zone. DTG prints typically begin 2–3 inches below the collar, so plan your placement accordingly.
And if you’re printing across a wide size range, know this: your design size stays fixed (usually based on a size L), so it may appear larger on a small tee and smaller on a big one. Design with flexibility in mind.
Understand your print methods.
Different print methods = different outcomes. Understanding how each one works can save you from design mishaps and help you choose the best fit for your project.
DTG (Direct to Garment) is ideal for small runs and intricate designs on cotton. It delivers soft-feel, full-colour prints but works best on flat, smooth areas.
DTF (Direct to Film) is a go-to for all fabric types, with bold colour, sharp outlines, and a slightly raised finish that pops.
Sublimation is made for edge-to-edge prints on polyester. It fuses ink into the fabric for ultra-vibrant, fade-proof colour – perfect for all-over designs.
Screen Printing shines when you’re going big. It’s built for bulk orders, solid block colours, and long-lasting impact – ideal for merch lines and high-volume campaigns.
Print Questions, Answered.
Absolutely! We provide digital mock-ups to ensure you’re happy with the design, placement, and colors before moving forward with production.
Turnaround times vary depending on the order size and printing method. Standard orders are typically ready in 7-10 business days after payment, but we offer rush services for quicker delivery when needed.
For DTF and DTG printing methods the minimum order is 10pcs.Due to the more complicated setup process, for screen printing the minimum order is 25pcs.
We specialize in Direct to Film (DTF), Direct to Garment (DTG), and screen printing, as well as embroidery services. Each method has its own unique advantages, and we can help you choose the best one for your project.
Not sure how your colours will turn out?
Our team can help you choose the right colours and the right printing method to match. If you’re curious about the different ways your designs can come to life, check out our guide to print methods.
Want to dot your i’s and cross your t’s?
Send it our way. We’ll double-check your artwork for alignment, sizing, resolution, and print compatibility so your gear lands exactly how you pictured it.